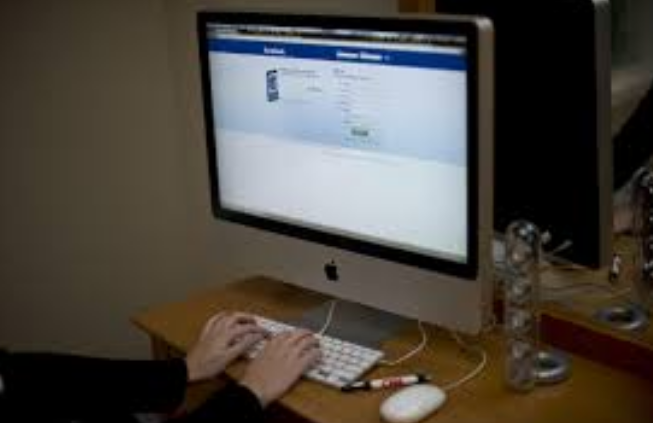
Private Page Facebook
Monday, June 4, 2018
Edit
Facebook is a wonderful tool for corresponding with old buddies, family and anyone else you care to talk with. But that digital liberty can come at a cost: your privacy, "Private Page Facebook". Thankfully there are ways to ensure only individuals you want to see your Facebook profile can-- unless naturally somebody understands your password.
Private Page Facebook
The process of making your Facebook personal is in fact reasonably pain-free once you acquaint yourself with the significantly bloated user-interface. So where do you begin?
Here, we've put together a six-step guide to locking down your Facebook account as best as possible.
Action 1: See Exactly What Your Public Profile Appears Like
The very first thing you'll wish to do is figure out how much of your Facebook info strangers can see. To do so, go to your profile page and click the 3 dots in the bottom best corner of your cover image. In the dropdown menu that appears, click "View as."

This will take you to a variation of your Facebook page that appears the way it does to users who are not your pals. Specific info, like your name, present profile photo and cover image, will always be viewable by strangers. However you can determine who sees other type of content. Try scrolling through your profile page in this view to see how numerous of your posts are publicly viewable to individuals who aren't your pals.
Action 2: Decide Who Can See Your Posts
During Step 1 you might discover you've accidentally been sharing posts with everybody on Facebook. Every time you make a post, Facebook gives you the opportunity to quickly choose which audience to share it with.
To the left of the "Post" button, you'll see a box that reveals who will be able to see a provided piece of content. Click package to select an audience from a drop-down menu-- the most common are "Just Me," "Friends," and "Public" (which includes anyone on or off Facebook). You can likewise share posts with people in your current city or develop custom-made lists. That lets you share your child images just with household members, for example.

Whatever audience you choose for a certain post ends up being the default going forward. So if you make one "Public" post, Facebook will default to making all your posts "Public" afterwards. If you find you have actually accidentally been making a lot of posts Public, Facebook also has actually a choice buried in its settings to retroactively make old posts more personal. Click the down arrow in the top right corner of Facebook, then choose "Settings" from the fall menu. On the Settings screen, click "Privacy" in the left-hand rail, then select "Limitation Past Posts" in the "Who Can See My Things?" section.

Action 3: Get Rid of Intrusive Apps
Throughout the years you have actually most likely offered dozens of apps consent to access your Facebook data in order to rapidly login or bring up a lineup of contacts. Facebook's been monitoring all those apps, and now provides you the ability to limit specific apps' access to info.
On the Settings screen, choose "Apps" in the left-hand rail. You'll be presented with a grid of all your Facebook-authenticated apps. Click any app and you'll see an itemized list of every piece of individual info you show the app, ranging from your birth date to your pictures to your place.
You can opt to stop sharing any individual information point or remove the app's connection to your Facebook account outright. You can also turn off an app's capability to send you Facebook notices. That could avoid you from continuing to get irritating updates about your auntie's Sweet Crush routine, for circumstances.


Action 4: Make Yourself Harder to Discover
Facebook made all user profiles searchable back in 2013, making it easier for other individuals to find you on the website. However users still have the ability to stop Google and other search engines from listing their profiles in search outcomes.
On the Settings screen, select "Personal privacy" in the left-hand rail, then respond to "No" to the final concern listed, "Do you desire online search engine outside of Facebook to connect to your profile?" On the same screen you can also choose whether you desire anyone to be able to send you friend requests or only friends of friends.

Action 5: See Ads That Don't Take Advantage Of Your Personal Data (As Much).
Facebook tracks your browsing routines throughout the Web and uses this information to serve you more personalized advertisements. If that sounds weird to you, you can inform the company to stop.
In the Settings menu, click "Ads" on the left-hand rail. The first section deals with exactly what Facebook calls "online interest-based ads." If you turn this triggering, you'll still see the very same number of ads, however they will not be customized to your Web history off of Facebook. All your actions on Facebook are still reasonable game for serving targeted advertisements, however.
Simply listed below this alternative is a setting to switch off ads paired with your social actions. When this setting is on, Facebook utilizes your Likes and shares to make advertisements in other individuals's News Feeds more attractive. So if you like the Doritos page, that details might appear together with a Doritos sponsored post in a pal's feed without your understanding. Select "no one" in this area and Facebook won't utilize your Likes in this method.

Action 6: Block Troublesome Users.
You can obstruct specific users by choosing the "Stopping" choice on the left-hand rail of the Settings menu. You can block users outright, suggesting the users cannot see your profile or include you as a friend. You can likewise block users from doing particular actions, like sending you occasion welcomes or app game invites (again, great for that Candy Crush-addicted auntie). Likewise note that there's a different stopping alternative for Facebook Messenger on this settings page also.

Users can also include users to a "Limited List" on this page. Anybody on the list will only have the ability to see the posts and details you show the whole public-- and they won't understand they've been put on this list. So if you want your colleagues to see your practical Facebook privacy posts and not your raucous celebration photos, you might consider putting them on this list (and identifying certain posts "Public" as required).